
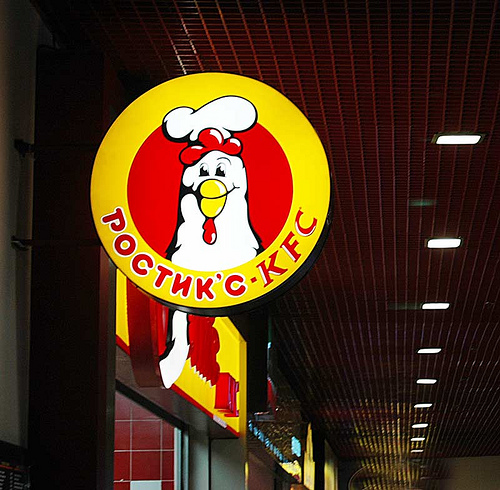
Rostik’s definitely hatched from the Kentucky Fried Chicken empire, however there were some very disturbing differences. Growing up, I rarely got a chance to eat KFC since there wasn’t one in my home town. However, when I did find a KFC and had a chance to eat there, I always ordered the same thing. So when I saw this KFC in Moscow, my mouth started to water and my stomach screamed “YES!” after weeks of eating tasty, although unfamiliar, and sometimes unidentifiable food.

1 large egg (you may need 2 depending on the amount of chicken you are cooking)
1 splash (1 teaspoon or 5 ml) milk
1 cup (240 ml) all-purpose flour
2-3 cups vegetable oil for frying

Lay the chicken pieces next to each other and sprinkle paprika to coat them liberally. Both sides. Next sprinkle garlic salt on the pieces and press the spices into the skin gently with your hand.

In a small bowl, add 1 splash (approximately 1 teaspoon or 5 ml) to 1 large egg. Use a whisk and beat the egg vigorously until completely combined and small bubbles begin to form in the mixture (about 30 seconds).
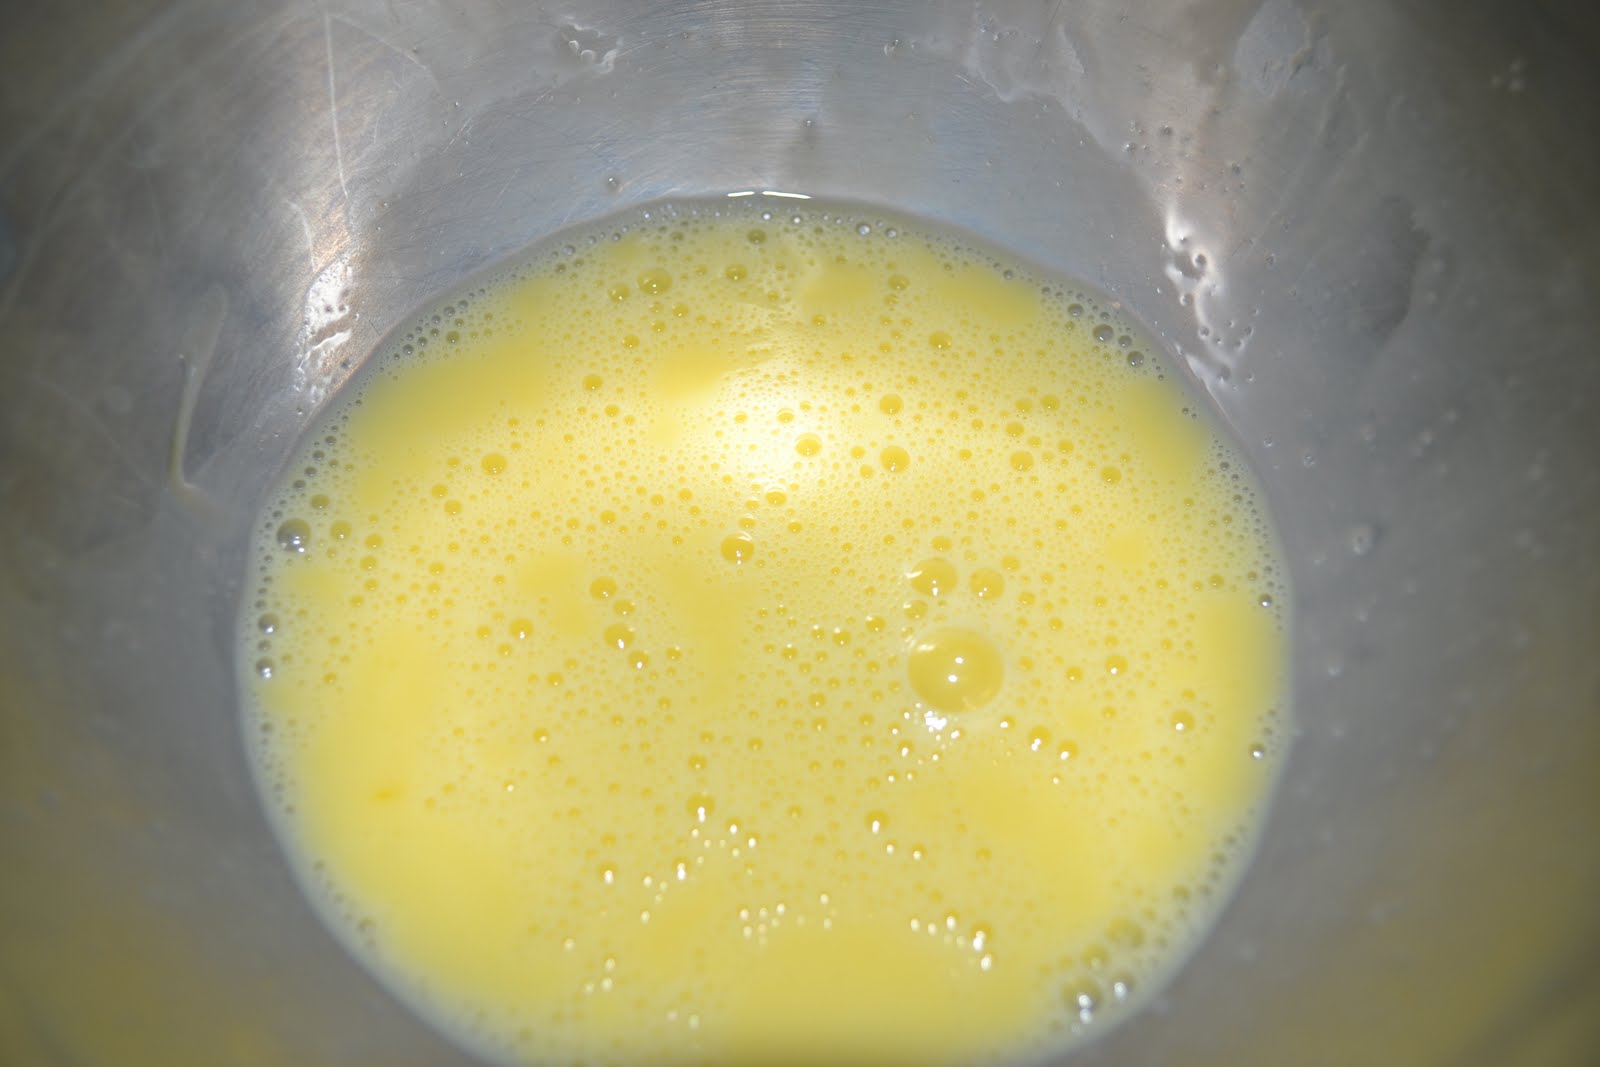
Incorporating air into the egg will help keep the outside of the chicken light as it cooks.
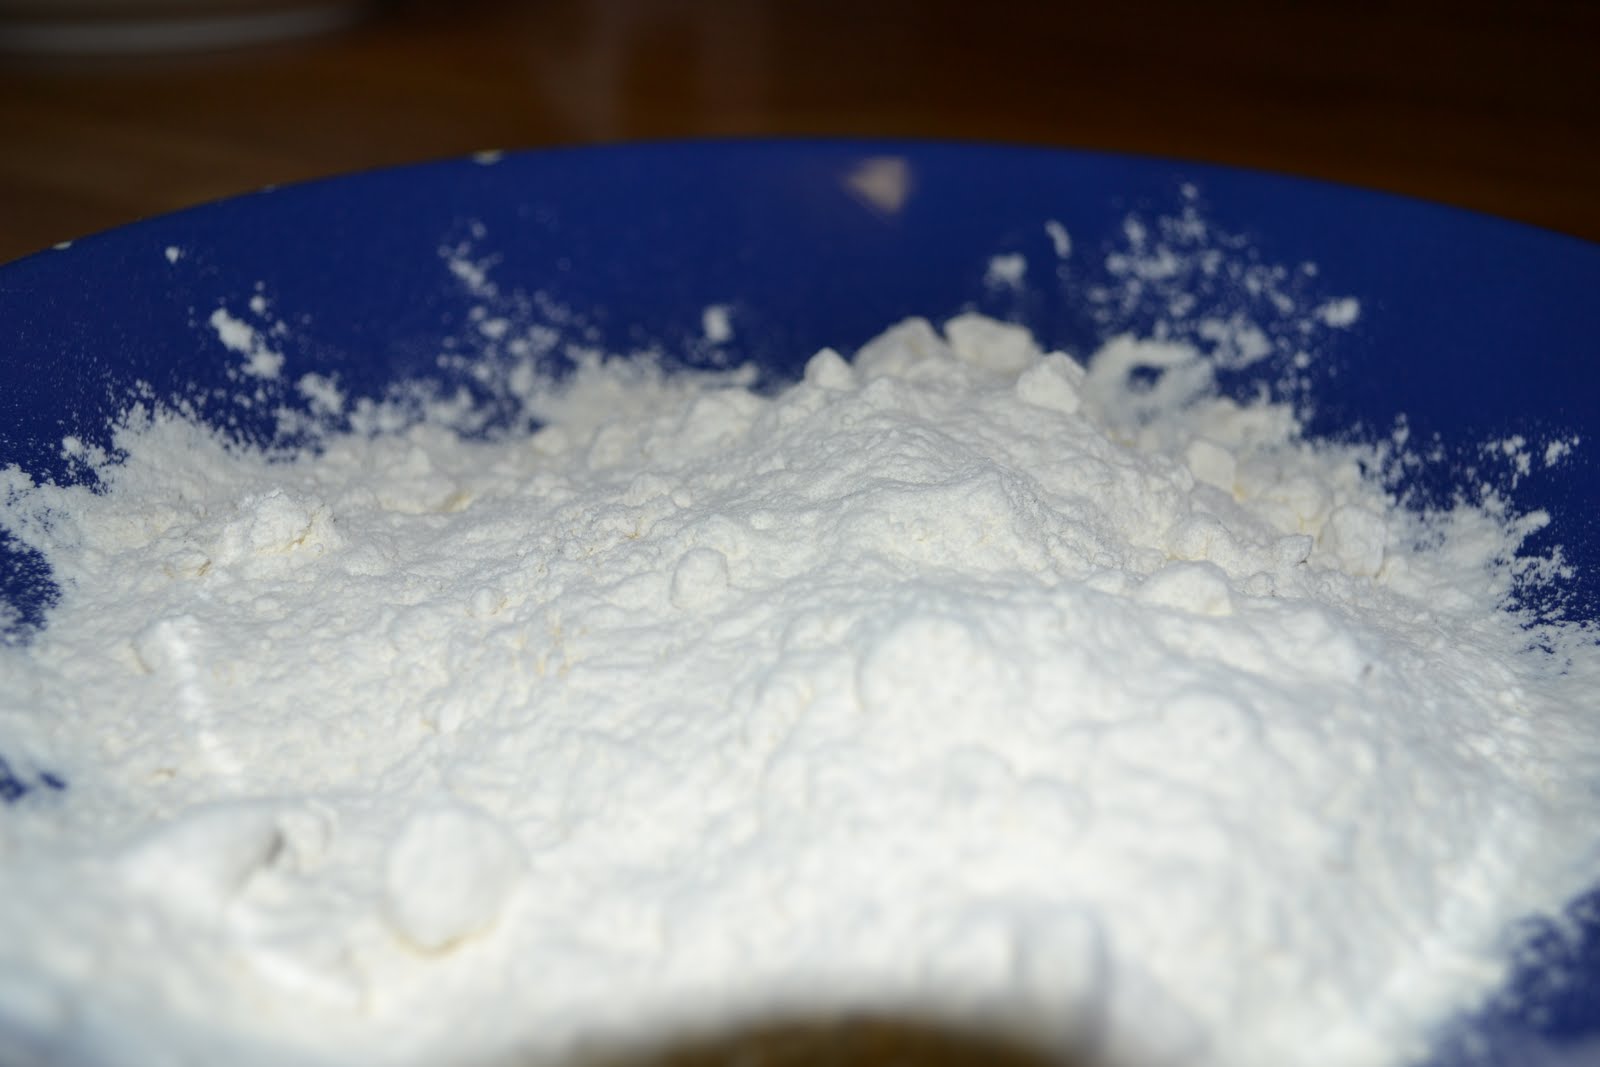
In another bowl, add approximately 1 cup (240 ml) of all purpose flour. Some people prefer to add their spices to this flour, but I think it’s very wasteful. By putting the spices directly on the chicken, the flavor is sure to be in every bite, and not lost in the trash can with the excess flour.

In a heavy, thick pan, heat approximately 2-3 cups of vegetable oil. The amount of oil with depend on the size of your pan. We want about 1/2 inch (1.5 cm) of oil in the pan. We are not going to completely cover the chicken, we only want the oil to come up halfway on the pieces of chicken. Don’t forget, as you add chicken, the oil level will rise.
Theres a big reason why we don’t want the chicken to be completely covered by oil. Again, water is our enemy. Even though we dried the chicken after washing it, there is a lot of natural moisture in the chicken meat. The oil we will be cooking with should be heated to approximately 350F (177C) temperature. So if we drop our coated chicken into the hot oil, it will quickly seal all that moisture inside. Sounds like a good thing, right? Not in this case.
As the chicken cooks, and the moisture tries to escape, it will be sealed in by the outer coating that already reacted to the hot oil. This causes the moisture to build up between the coating and the chicken meat, creating fluid that separates the coating from the meat. Have you ever taken the first bite of a piece of fried chicken and all the skin comes off in that first bite? That’s why. This moisture trapped inside does not mean it will keep the chicken meat moist and juicy. It will simply run out the first time the coating is opened. So to avoid this trapped, useless moisture, we will cook in only enough oil to cover the chicken half way. This way, the moisture can escape out the top of the chicken as the bottom half cooks, then we simply turn the chicken over half way through cooking. The skin will stay on the chicken meat as we bite into it and we will get that great flavor in every bite.

Heat the oil until it just barely starts to smoke. Don’t let it burn, but we need the oil as hot as possible. The hotter the oil is, the less oil will penetrate into the chicken, adding calories and greasiness. If you have a thermometer, our target temperature is 350F (177C). If you don’t have a thermometer, you can use the handle of a wooden spoon to check if bubbles form when you put it in the oil. Don’t add the chicken to the oil too early or the finished chicken will be very oily, even if you bring it to high temperature during cooking.

Place the chicken, the bowl of egg wash, and the flour near each other so you can easily go from one to the next.

When the oil is hot enough, dip the seasoned chicken one piece at a time into the egg, flipping it to completely coat, then dredge it in the flour, coating it completely.

Shake off the excess flour or it will just become burnt mud in the oil, and place the chicken gently into the oil. Thicker flour coating does not create thicker or more tasty skin crust.

Always place the chicken into the pan by laying the chicken away from you. Drop one side of the chicken into the oil and then lay it down away from you so if there is any oil splash, it will not splash towards you, causing painful burns.

Cook the chicken until you can see the edges beginning to brown, about 5 minutes depending on the oil temperature and quantity of chicken in the pan. I like my chicken dark brown because it creates a deeper flavor, but if you like your chicken golden brown, just flip it earlier.

We don’t intend to cook the chicken completely in the oil. We are only concerned with the crispiness of the outside of the chicken. If you are cooking an 8-piece chicken, place the thighs in the middle since they take the longest to cook, the legs near the thighs to get high heat too, then the breasts and wings on the outside since they will cook faster. It is possible that by the time the skin on an 8-piece chicken is finished cooking, the inside will be finished too.

Since my chicken thighs are alone in the pan, the oil stays hot, and cooks the outside quickly, so if I wait until the inside is cooked (to approximately 170F / 77C) then the skin will be burned. That’s not good flavor. So to finish cooking the inside, remove the chicken from the oil, drain on a cooling rack, and then finish the chicken in a preheated (350F / 177C) oven for 10-15 minutes. The inside will finish cooking and the outside will not be burned. Just remember, temperature decides juiciness, not trapping moisture inside, so aim for the right temperature.

It is important to remove the chicken from the oil to a wire cooling rack. Do not drain them on paper towels or newspaper. The towels will absorb the oil, but the towel is still in contact with the chicken, so the oil will simply equalize itself, and soak evenly into the towel and back into the chicken skin, making it soggy. So remove the chicken to a wire rack to drain, sprinkle immediately with a little salt, then check the temperature inside the chicken (goal is 170F / 77C) and finish in the oven if necessary.
Of course fried chicken needs cole slaw. I didn’t make mashed potatoes with gravy because I felt we already had enough food for dinner and I wasn’t really craving the potatoes, but I will post my incredible gravy recipe in another meal soon, I’m sure.
Cole slaw ingredients:

1 small head cabbage
2 medium carrots
1/2 cup (75 ml) mayonnaise
1 Tbsp (14 ml) mustard
1/2 lemon
salt and pepper to taste
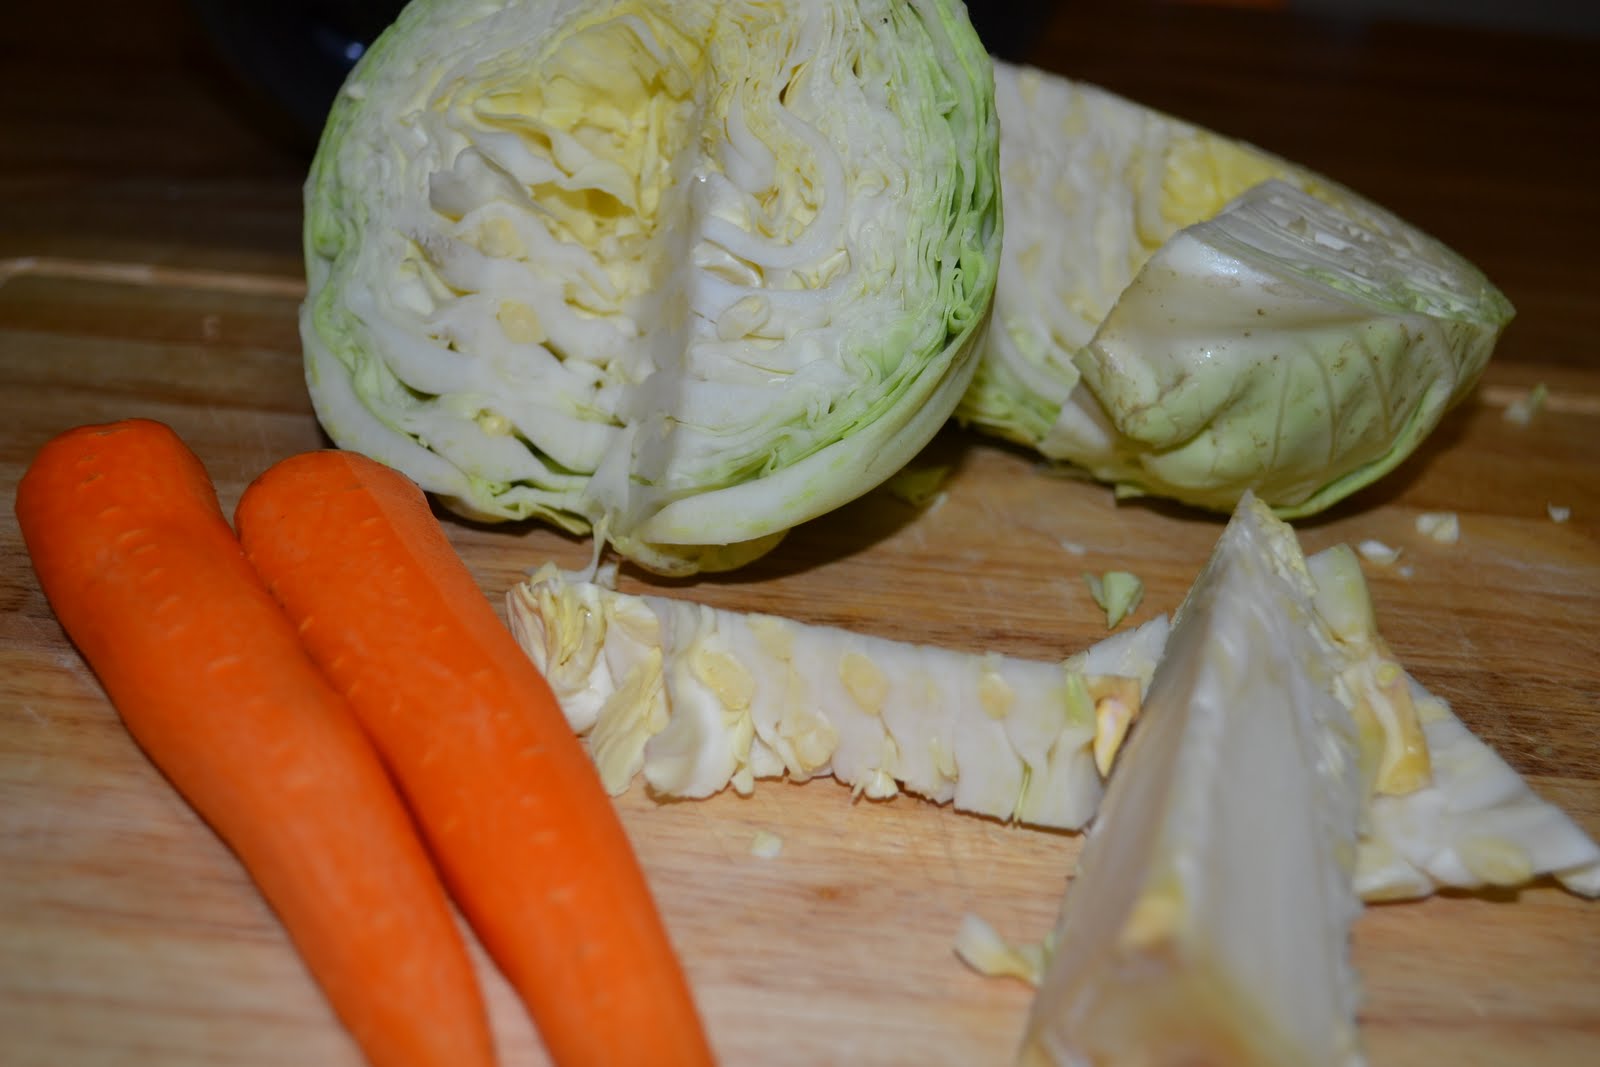
Start by cutting the head of cabbage in half, dividing the core. Use angled cuts to cut out the core and discard.

Lay each half of the cabbage flat on the cutting board and slice the cabbage into thin slices. Cut all the shreds once or twice in opposite directions to make them smaller, bite-size pieces.

Wash and peel the carrots, then shred using a grater.

Place the cabbage shreds and the carrots into a large bowl and cover with 1/2 cup (75 ml) mayonnaise. Add 1 Tbsp (14 ml) mustard, the juice from 1/2 lemon, and salt and pepper.

Using your hand, squish the ingredients together and mix thoroughly. Cover with plastic wrap and refrigerate until ready to eat.
Enjoy this fresh cole slaw with the fried chicken, and save any left-overs for later. The flavors will increase the next day.


Ha, ha ))))You making me want to finally visit KFC in our city )))